
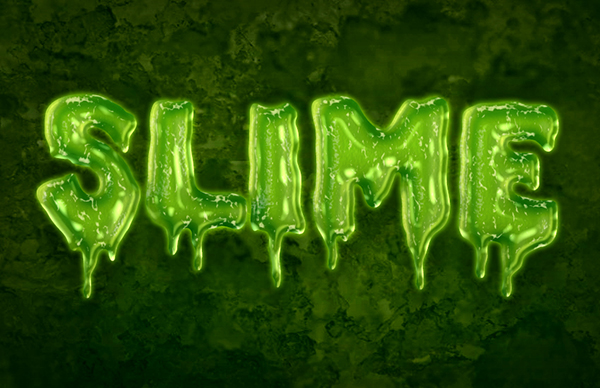
This tutorial will show you how to use Photoshop’s layer styles and some simple textures to create an easy, detailed slime text effect.
Tutorial Assets
1- Double Feature font.
2- Ice Texture 4 by CageyResources.
3- Black Mamba Pattern by Federica Pelzel.
4- PS Patterns – Of all things fleshy by halmtier.
5- You’ll also need to load a default Photoshop Contours set. So go to
Edit > Presets > Preset Manager, and choose Contours from the
Preset Type drop down menu. Then click the little arrow to the right of
the Preset Type drop-down menu, and click Contours near the bottom of
the pop-up menu. When the dialog box appears after that, just click
Append, and you’ll get the Contours set.
Step 1
Create a new 850 x 550 px document, place the Ice Texture 4 texture on top of the Background layer, and resize it as needed.

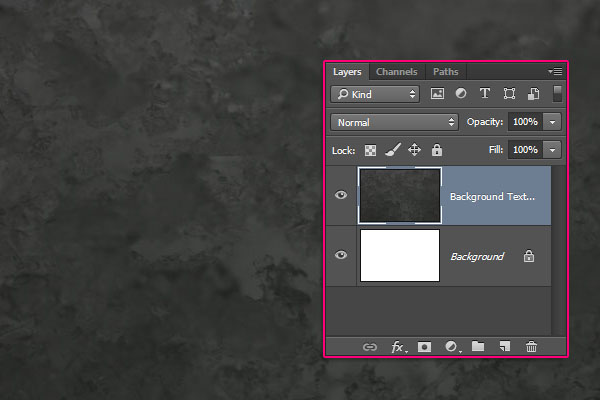
Double click the Ice Texture 4 layer to apply the following layer style:
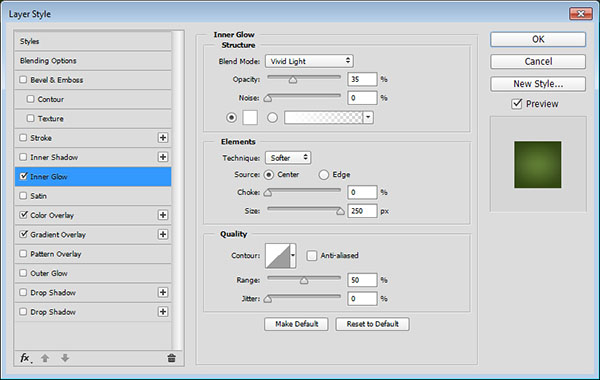
– Inner Glow
Blend Mode: Vivid Light
Opacity: 35%
Color: #ffffff
Source: Center
Size: 250

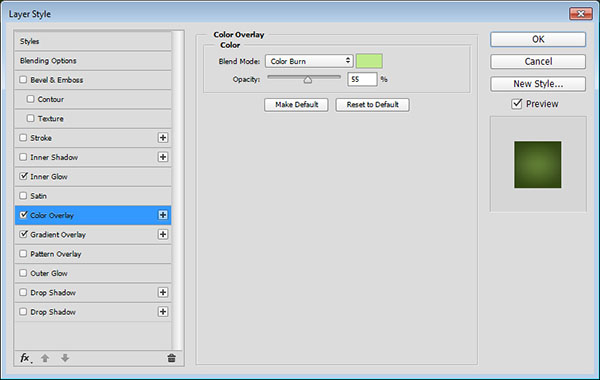
– Color Overlay
Color: #bfeb8c
Blend Mode: Color burn
Opacity: 55%
– Gradient Overlay
Blend Mode: Color Burn
Check the Dither box
Opacity: 50%
Style: Reflected
Scale: 125%
Click the Gradient box to create the gradient using the colors #ffffff to the left and #d7d7d7 to the right.
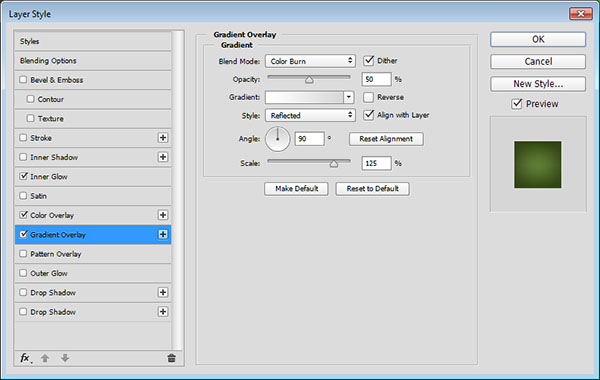
This will add some coloring to the background texture.

Step 2
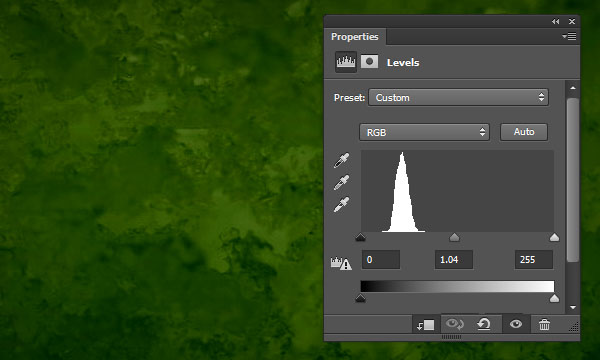
Click the Create new fill or adjustment layer icon at the bottom of the Layers panel and choose Levels.
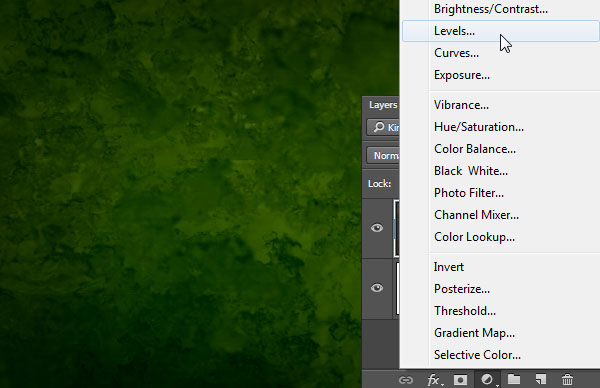
Click the Clip to layer icon, and change the Gamma value to 1.04.

Select both the Ice Texture 4 layer and the Levels layer, duplicate them, then go to Layer > Merge Layers.
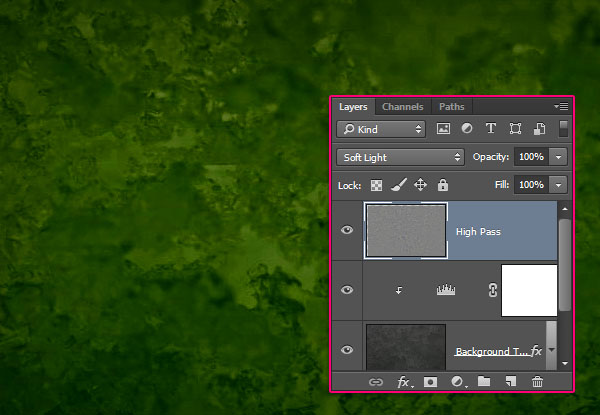
Rename the merged layer to High Pass, then go to Filter > Other > High Pass, and change the Radius to 10 px.

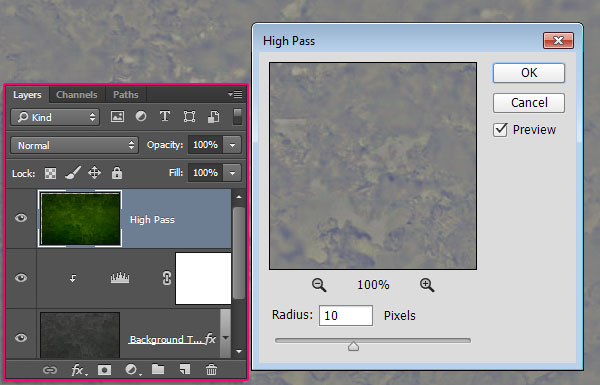
Change the High Pass layer’s Blend Mode to Soft Light. This will sharpen the texture a little bit.

Step 3
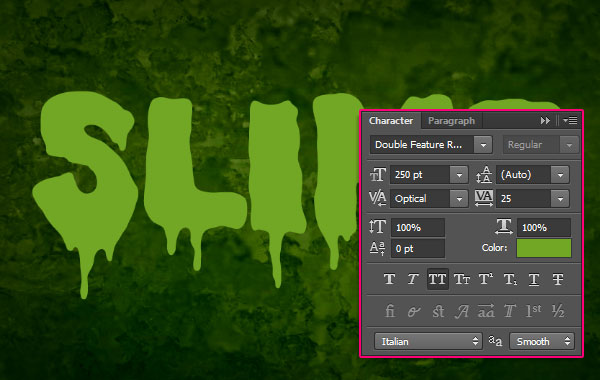
Create the text using the font Double Feature. The Color is #72a726, the Size is 250 pt, and the Tracking value is 25.
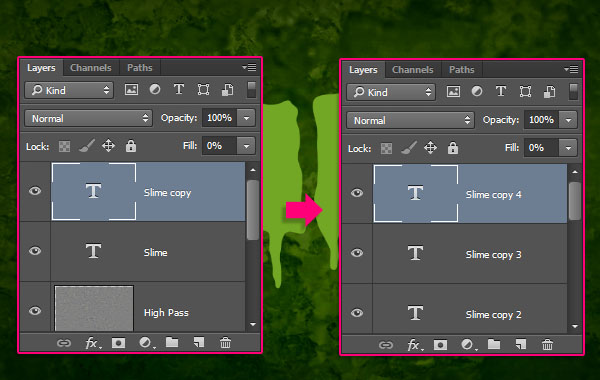
Duplicate the text layer and change the copy’s Fill value to 0, then duplicate the copy layer three more times.
Step 4
Double click the original text layer to apply the following layer style:
– Bevel and Emboss
Depth: 130
Size: 25
Soften: 9
Uncheck the Use Global Light box
Angle: -18
Altitude: 58
Gloss Contour: Cone – Inverted
Check the Anti-aliased box
Highlight Mode: Linear Light
Color: #ccb89c
Opacity: 50%
Shadow Mode: Color Burn
Color: #37462c
Opacity: 50%
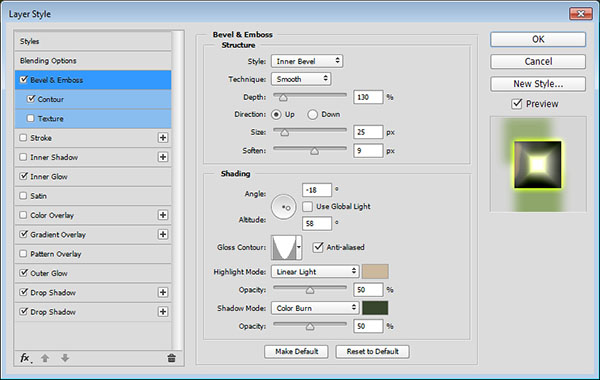
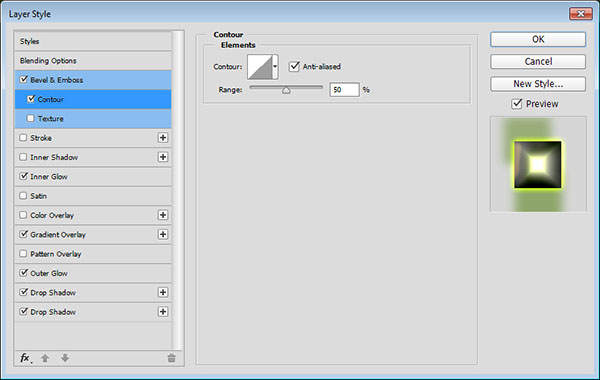
– Contour
Check the Anti-aliased box.
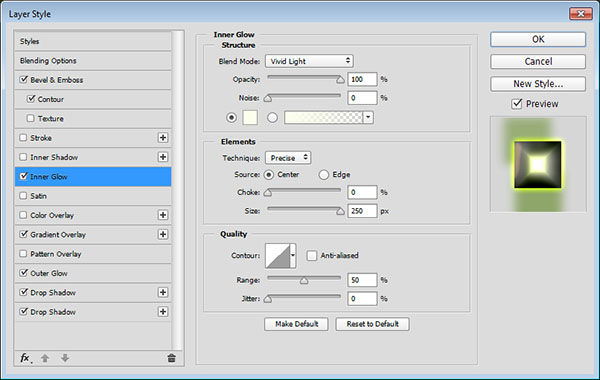
– Inner Glow
Blend Mode: Vivid Light
Opacity: 100%
Color: #fcffeb
Technique: Precise
Source: Center
Size: 250
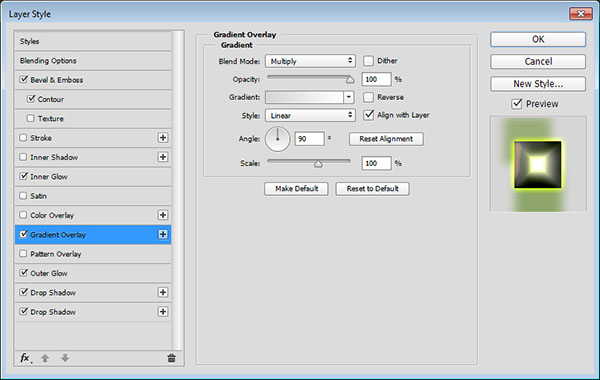
– Gradient Overlay
Blend Mode: Multiply
Click the Gradient box to create the gradient using the colors #d7d7d7 to the left and #ffffff to the right.
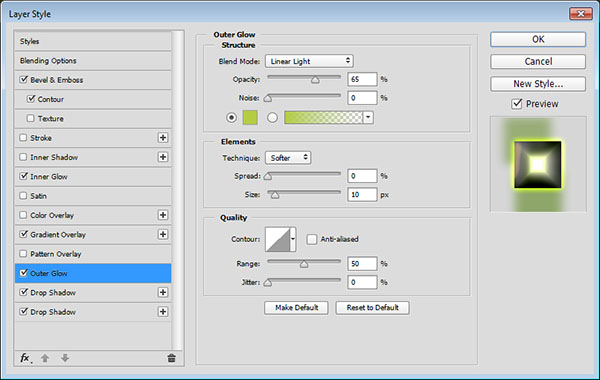
– Outer Glow
Blend Mode: Linear Light
Opacity: 65%
Color: #b4cc43
Size: 10
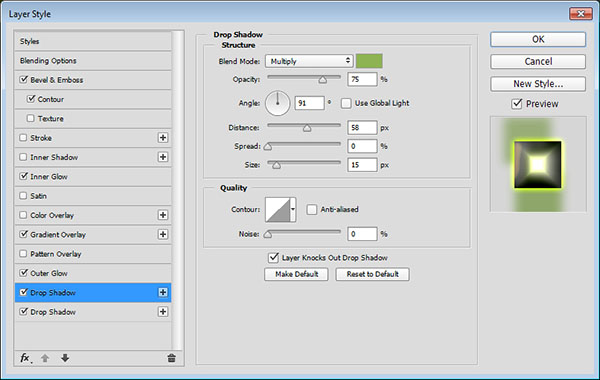
– Drop Shadow – 1
Color: #8db354
Uncheck the Use Global Light box
Angle: 91
Distance: 58
Size: 15
– Drop Shadow – 2
Color: #9dbe6b
Uncheck the Use Global Light box
Angle: -67
Distance: 36
Size: 15
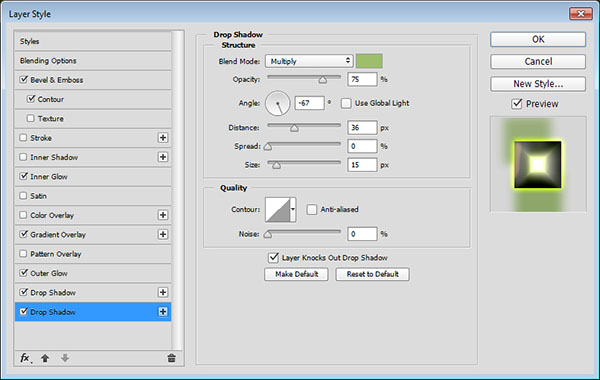
This will style the first layer of text, creating the basic detailing, highlights, and shadows.

Step 5
Double click the first copy text layer to apply the following layer style:
– Bevel and Emboss
Depth: 135
Size: 9
Soften: 3
Uncheck the Use Global Light box
Angle: -35
Altitude: 26
Gloss Contour: Rounded Steps
Check the Anti-aliased box
Highlight Mode: Linear Light
Color: #d7c8b4
Opacity: 75%
Shadow Mode – Opacity: 0%
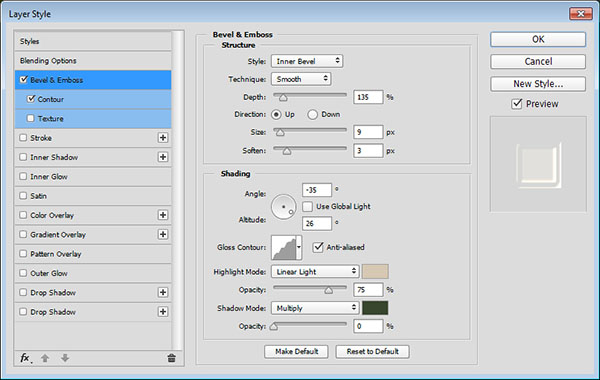
– Contour
Contour: Ring – Double
Check the Anti-aliased box.
This will style the dripping parts, as well as the edges of the text.
Step 6
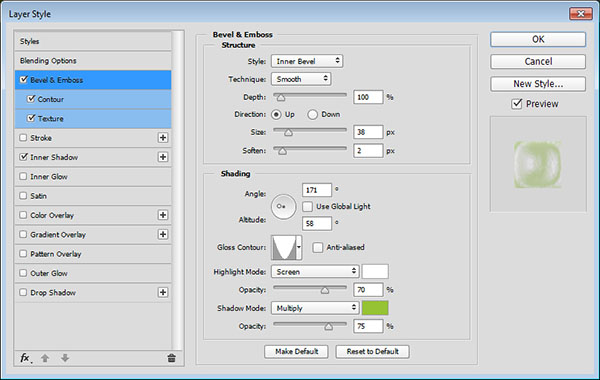
Double click the second copy text layer to apply the following layer style:
– Bevel and Emboss
Size: 38
Soften: 2
Uncheck the Use Global Light box
Angle: 171
Altitude: 58
Gloss Contour: Cone – Inverted
Highlight Mode – Opacity: 70%
Shadow Mode -Color: # 95c333
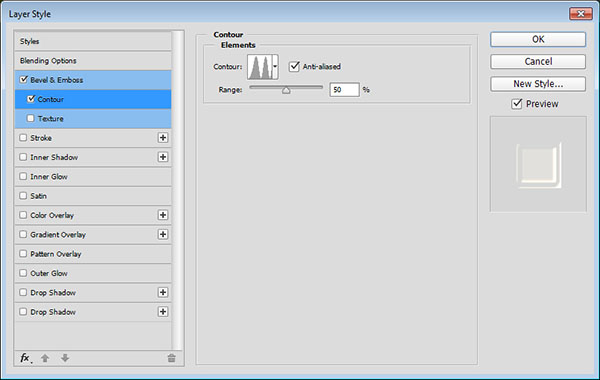
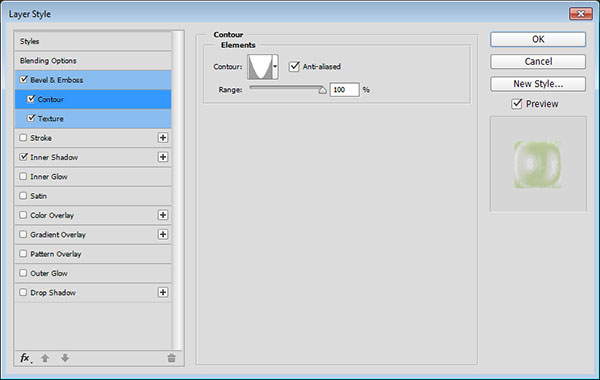
– Contour
Contour: Cone – Inverted
Check the Anti-aliased box.
Range: 100%
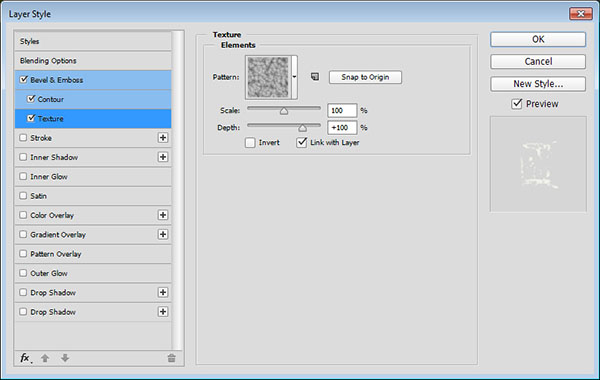
– Texture
Pattern: Black Mamba
Depth: 95%
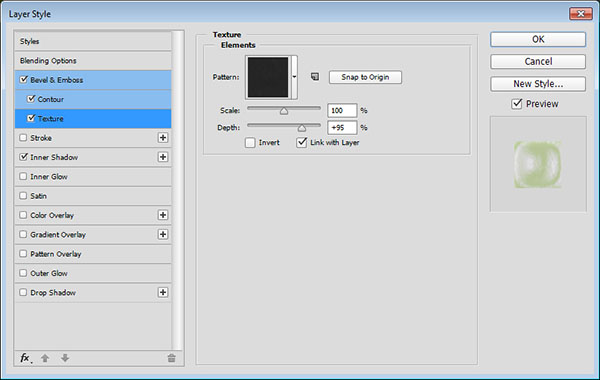
– Inner Shadow
Blend Mode: Linear Dodge (Add)
Color: #222221
Distance: 6
Size: 6
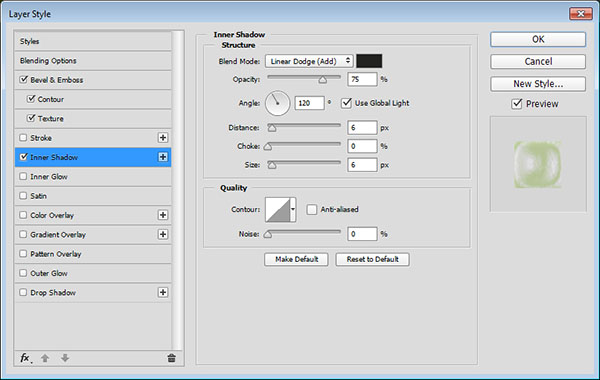
This will add more texturing to the text.
Step 7
Double click the third copy text layer to apply the following layer style:
– Bevel and Emboss
Depth: 135
Size: 27
Soften: 7
Uncheck the Use Global Light box
Angle: -70
Altitude: 25
Gloss Contour: Ring – Double
Check the Anti-aliased box
Highlight Mode: Linear Light
Color: #feffec
Opacity: 75%
Shadow Mode – Opacity: 0%
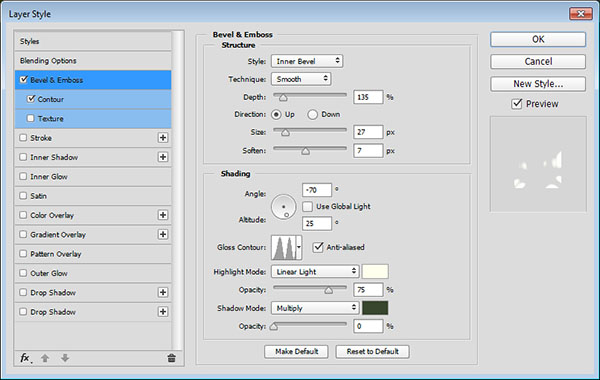
– Contour
Contour: Ring – Double
Check the Anti-aliased box.
This will add some more highlights and glossiness to the effect.
Step 8
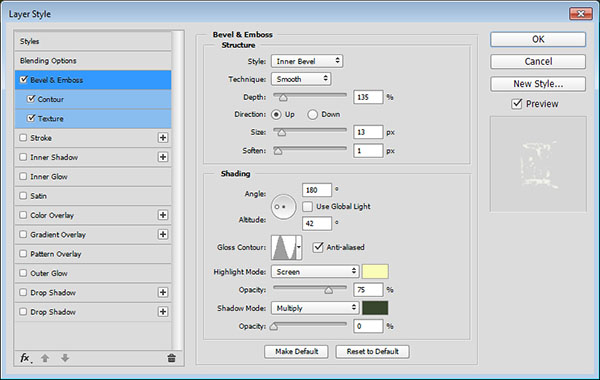
Double click the fourth copy text layer to apply the following layer style:
– Bevel and Emboss
Depth: 135
Size: 13
Soften: 1
Uncheck the Use Global Light box
Angle: 180
Altitude: 42
Gloss Contour: Ring
Check the Anti-aliased box
Highlight Mode – Color: #f9fdb8
Shadow Mode – Opacity: 0%
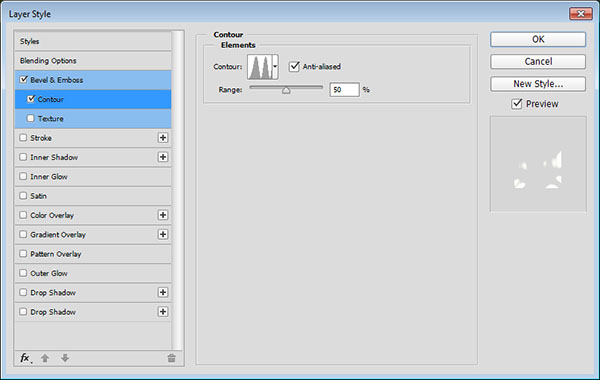
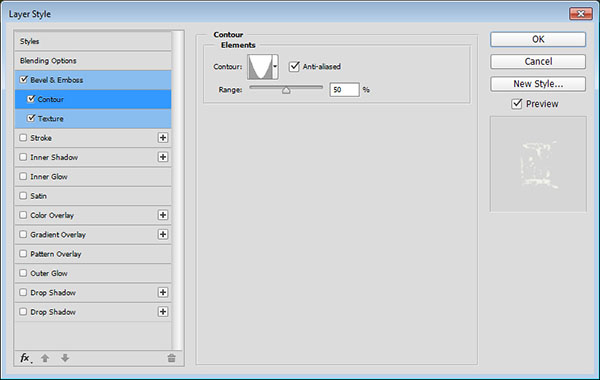
– Contour
Contour: Cone – Inverted
Check the Anti-aliased box.
– Texture
Pattern: 6.jpg (from the PS Patterns – Of all things fleshy pack)
This will add a more liquid-like feeling to the text.
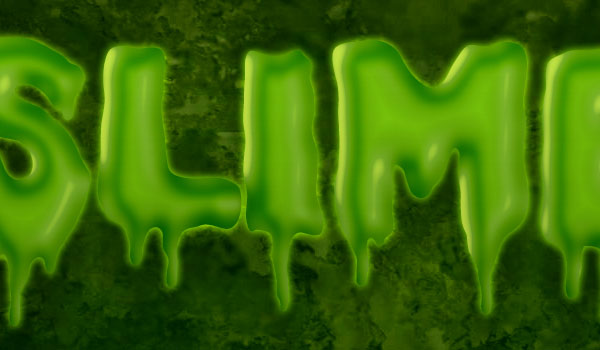
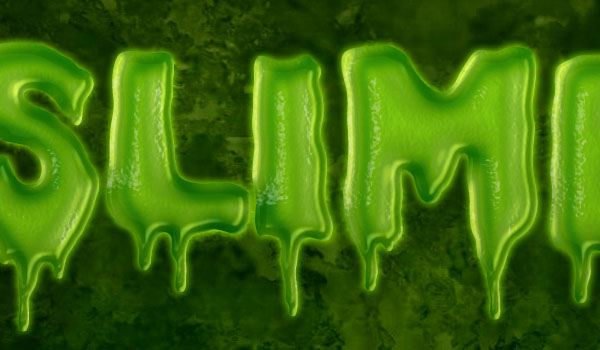
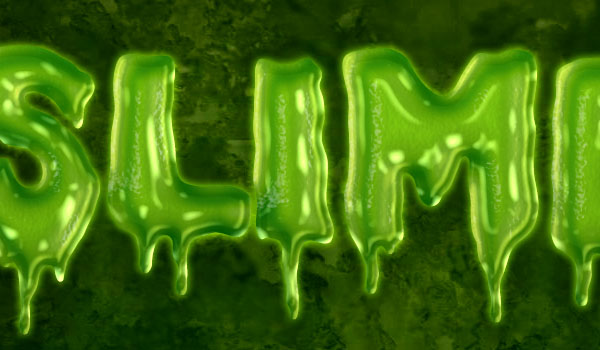
And you’re done!
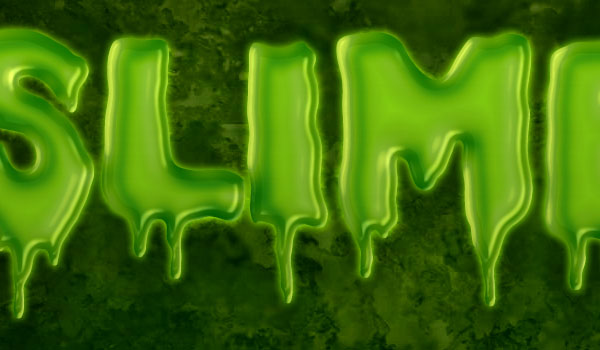
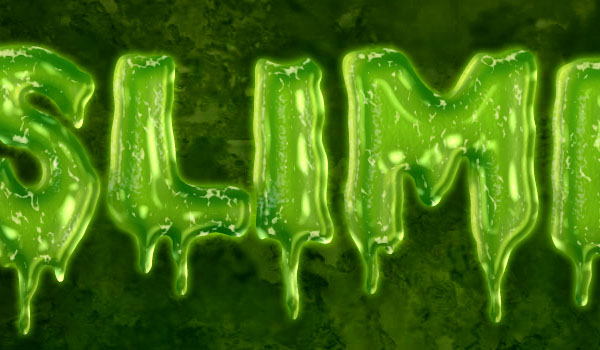
Conclusion
This is the final result. Layering layer effects can help create textured, detailed effects pretty easily and quickly!
Hope you enjoyed the tutorial and found it helpful.
