Original Source
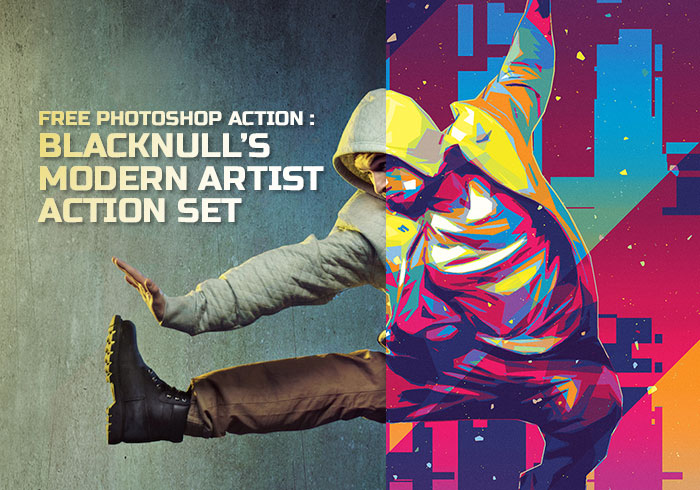
We’re sharing an action set for Adobe Photoshop CC that you can download—for free—and use to turn photographs into vibrantly colorful works of modern art. Photoshop artist Nuwan Panditha, also known as BlackNull, created this action set just for Adobe Create readers.



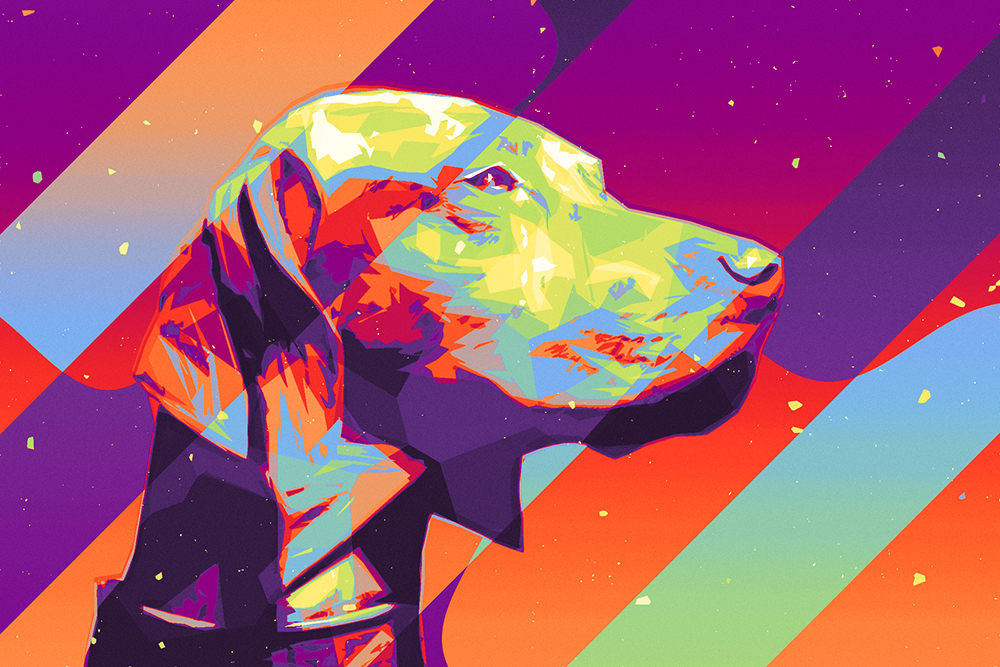
BlackNull used his action set on these Adobe Stock photos to create dazzling works of art.
This action is easy to use but almost infinitely customizable. Even if you’re not a “read the instructions” person, reading these instructions (and watching the three brief how-to videos) will serve you well in this case!
BlackNull tested the action on the latest Adobe Photoshop CC, but it’s compatible with Photoshop versions CC 2015 and higher. The action relies on the Oil Paint filter, which relies on your graphics processor (go to Preferences > Perfomance and make sure that the Use Graphics Processor option is selected).
INSTALLING THE ACTION AND PREPARING THE IMAGE
1. First, download the action file and then unzip it. You’ll see that it is an .atn file. Then open Adobe Photoshop, open the Actions panel (Window > Actions), select Load Actions, and choose the file you just downloaded.
2. This will add two Modern Artist actions to your Actions panel. The first action is the standard one; the second is for very high-resolution images (5,000 pixels or larger).
3. Open an image to work with in Photoshop. The action works well on images with a clear subject area that you can isolate (such as a portrait), but feel free to experiment!
4. Make sure your image is in RGB 8-bit color mode (go to Image > Mode to check this).
5. Make sure your image is large enough. The action was tested on images between 1,000 and 6,000 pixels; for best results, you should make sure that your image is within that range. (Go to Image > Size, and make sure that the higher of the two parameters—width or height—is within this range; otherwise, adjust the value.)
6. Make sure that the image layer is locked and set as the background layer (Layers > New > Background from Layer). Note that if your version of Photoshop uses a language other than English, you may need to change the name of this layer. (For instance, this layer is called arrière-plan in French. Double-click on the name to rename it background.)
APPLYING THE ACTION
1. At this point, your Photoshop file should have only one layer—the background layer.
2. Create a new layer, and name it mask. Note that you must use the word mask, in all lowercase letters, as this layer’s name.
3. Using a hard-edged brush, on the mask layer, paint over the area that you want to isolate as your subject. You can use any method for this (the Lasso or Magic Wand tool will also work, for instance). The important thing is to make a well-defined painted “mask” of your subject area.
4. Open the Actions panel, select the Modern Artist action that is correct for your image size, and click on the play icon. The run time will depend on your machine and on the image’s resolution, but the typical run time is two minutes or less. (If you’ve recently installed or updated Photoshop, you may receive a message that says, “Smart filters stacked on top of this filter will not preview while this filter is being edited.” You can safely select “Don’t show again” to remove this message.)
5. When the action has finished running, you’ll get a “Render Completed” notification. Click on Continue.
6. There will be many opened groups and layer styles in the Layers panel, and it will look very messy. Don’t panic! To organize everything, hold down the option key (or alt key on a Windows machine) and click on the arrow of the layer group called Modern Artist – OUTPUT; this will close the group. Then release the option or alt key, and when you open the group again, the layers will be organized in color-coded folders.
And if you like the image you’ve created, you could stop here. But there’s a lot to explore and nearly infinite ways to customize what you’ve created.
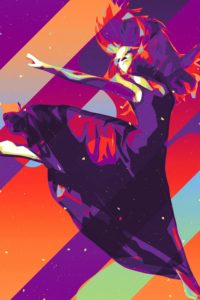



You may like what you see when the action is finished running, but there is a nearly infinite number of ways to alter the shapes and colors in the result, and most images will benefit from at least a little bit of tweaking.
Inside the Modern Artist – OUTPUT layer there are six subgroups, organized by color. You can hide each subgroup, one by one, to see what it does. Here, we explore the adjustments possible in three primary subgroups:
1. The blue subgroup, called Front, contains all the layers that create the abstract effect on the subject area you masked at the beginning. Your image will likely benefit from some adjustments in this subgroup; each layer is a smart object and can be highly customized. The two most important parameters on most layers are Threshold and Median.
For example, expand the layer called Shadow Overlay. Double-click on the Threshold smart filter to open a panel that lets you use a slider to decide how much the layer will be visible and present in the final image.
Use the Median filter to adjust the level of detail on this layer—a high Median value will create abstract shapes; a low value will create detailed shapes.
You can also make quick tweaks to the other layers in this group, to balance shadows and highlights. (Note that the Dark Detail layer has a Levels filter instead, and that the Base layer doesn’t have a Threshold option, because as the base it does not need to be calibrated.)
2. The action creates a black-and-white output and then uses a gradient map to re-map a chosen set of colors on the image, based on the original colors’ brightness values. The orange subgroup, called Color Maps, controls this map. Inside are ten color palette options; unhide one at a time to see the options (if you have multiple unhidden at once, the results will be combined).
Choose one gradient you like. Then click on the thumbnail to open the Gradients panel and see the gradient used to re-color the image. The colors at the right are mapped to the shadows of the image, the colors at the center are mapped to the midtones, and the colors on the right are mapped to the highlights.
Click on the gradient bar top open the Gradient Editor, where you can modify the colors and experiment. (If you’re new to the Gradient Editor, check out this primer. To learn more about how colors work together and make some interesting combinations, check out Adobe Color CC.)
3. The final key layers are named BG SHAPES (in the purple subgroup, named Back) and FG SHAPES (in the green subgroup, named FX). They have the same exact structure; the two layers can be adjusted in sync for great results.
To get a clear look at what FG SHAPES controls, hide BG SHAPES for a moment. FG SHAPES has four smart filters used to create deformations; they can be customized individually and also used together.
If you unhide all the smart filters, you can see the basic shapes. Double click on the layer’s thumbnail to open the smart object, inside are 16 different shape presets that are also highly customizable. Choose one of the shapes, and then close the smart object and save. You can then apply one or more smart filters to create the desired result.
Once you’ve explored the limits of these customizations, you can download BlackNull’s step-by-step guide, which also goes into detail about each of the action’s subgroups.


