If you wonder how to install Photoshop brushes, what’s the best way to use and delete them easy and fast, here is a 7 step tutorial about installing brushes in Photoshop CC. If you want start using Photoshop plugins right now, you can download free brushes and create amazing photos and designs.
What is a Photoshop Brush?
Brushes are used to add paint (grass, snow, clouds, flowers, etc.) to photos in a variety of ways. Though, creating lines and repeating figures isn’t the only thing they’re great for. The brushes can be used to brighten image, create texture or digital painting. Brushes allow you to add incredible depth and smoothness to your photos, but all of this is in vain if you don’t know how to install them.

Why are Photoshop brushes useful?
Despite the term “brush,” Photoshop painting brushes can do so much more than just copy physical things, such as paints. In fact, brushes can be used in every aspect of image editing: from textures, patterns to color correction. This makes any brush a convenient resource for both beginners and expert designers or photo retouchers, who want to add depth to their projects.
How to Install Photoshop Brushes?
Don’t have a photo editing software? Find out several legal ways of downloading Photoshop free and start using Photoshop brushes right now.
People often search “how to install brushes in Photoshop”. Though, it is quite an easy process, some users find it difficult. To install brushes, follow these steps:
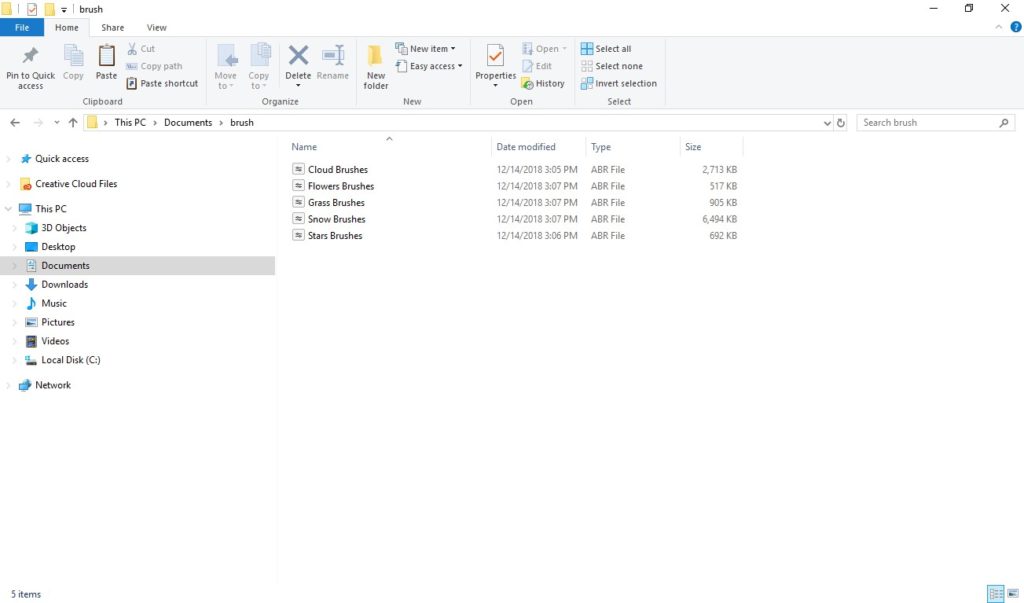
STEP 1. Download a zip file that contains your brushes and unzip it. You’ll have a new folder, which contains several files, one of which is an .ABR file with a brush.
STEP 2. Start Photoshop. You don’t even have to open the image. Just run the program to install your brushes.
STEP 3. Open the Photoshop brush Library in the Finder or Explorer. You need to know exactly where they are.
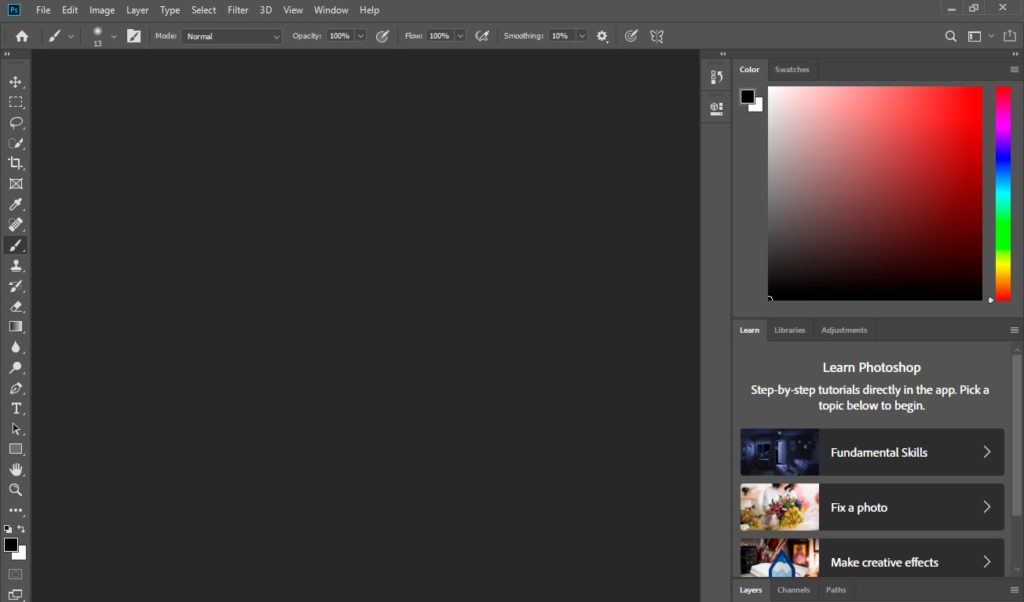
STEP 4. Press the “B” key on the keyboard or select the Brushes tool to display the brush editing window at the top of the screen. This window changes depending on which tool you are currently using. Press the “B” key to switch to the Brushes tool.
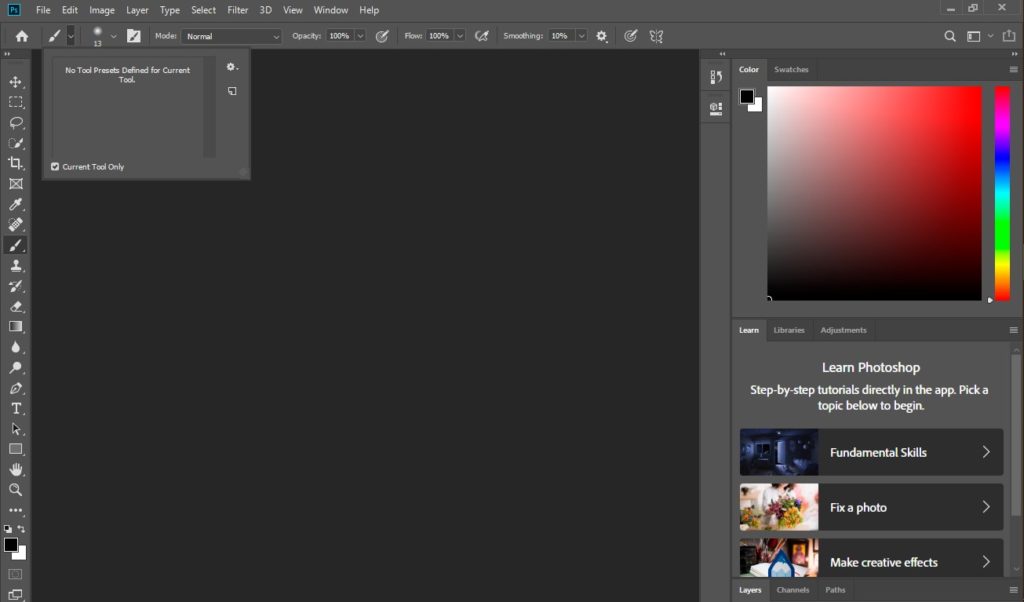
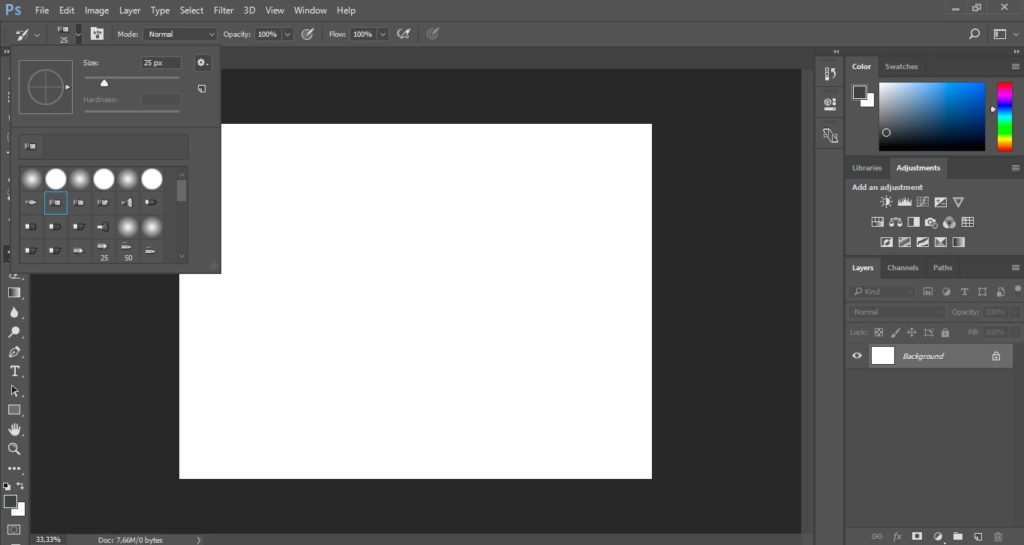
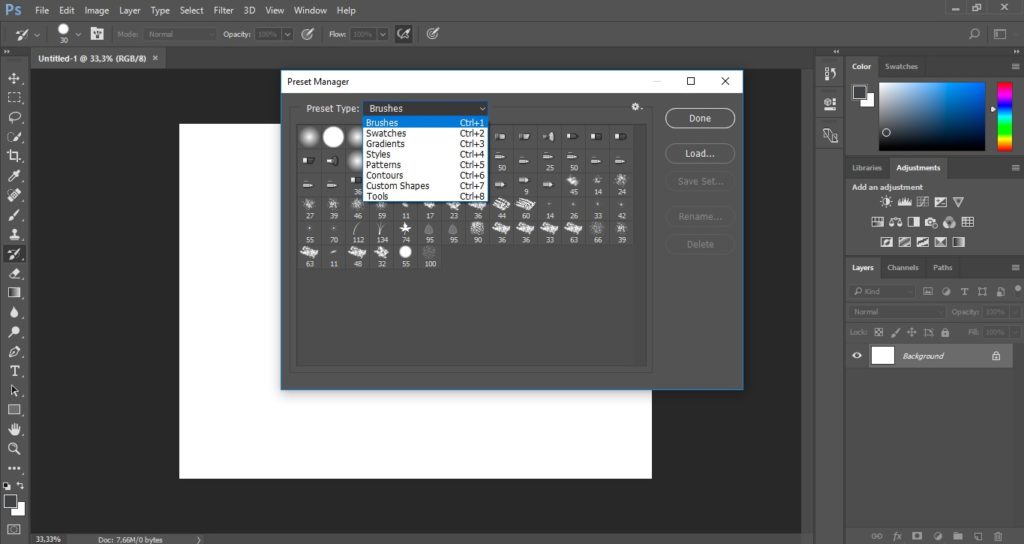
STEP 5. On the Brushes toolbar, click on a small pointed down arrow. It’s usually located near the small dot in the upper left corner of the screen. This way, you will open the “Manage brushes” section.

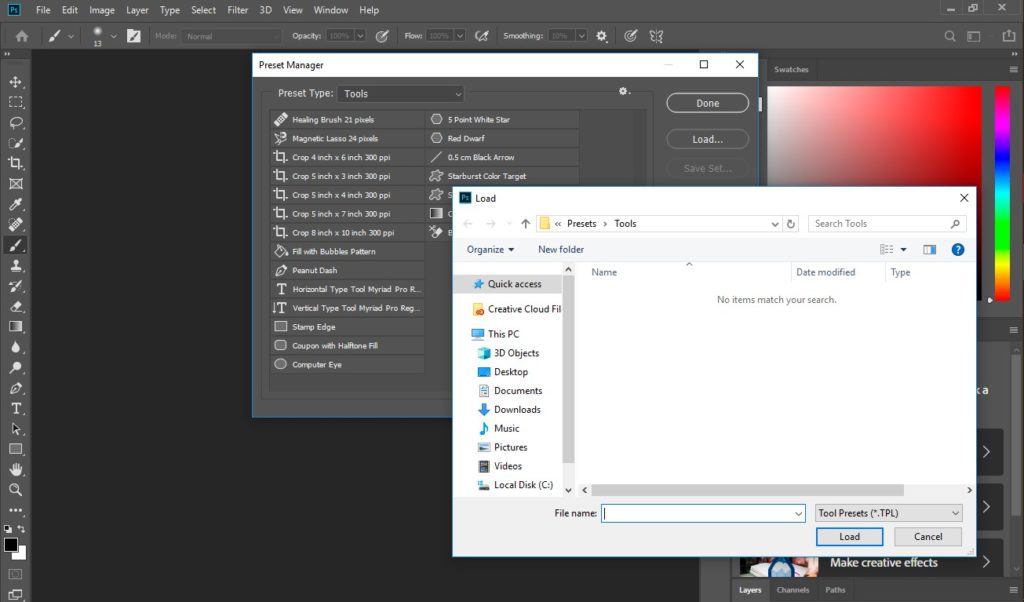
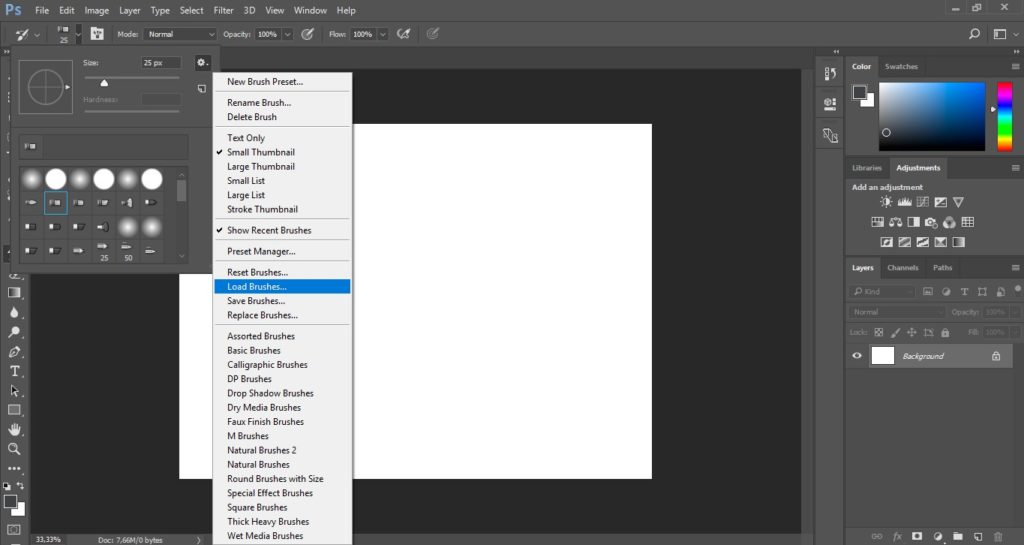
STEP 6. Click on the gear wheel icon, and then select “Load Brushes.” You will see a window in which you need to specify where your brushes are saved. Go back to a zip archive and find the .ABR file – this is your new Photoshop brush pack.
STEP 7. Double-click on the .ABR file to install the brushes. Thus you will add brushes to the current set. You can view them any time, opening “Manage the Brush Sets”. Simply click on the small gear symbol and find your new brush set at the bottom of the drop-down menu.
Add Brushes by Dragging them in the Photoshop Window
Simply click on the .ABR file in the window or on the desktop, and then drag it to Photoshop. The program will automatically add your brushes. If none of these methods work, try this:
STEP 1. Click on the “Edit” tab in the bar at the top of the window.
STEP 2. Click “Sets” → “Set Management”.
STEP 3. Make sure the “Type of Set:” parameter is set to “Brushes”.
STEP 4. Click the Download button, select your brushes and install them by double-clicking.
Adding a Large Number of Brushes
STEP 1. To save time, add several sets of brushes to your Photoshop system folder. This method works on both Windows and Mac computers. Close Photoshop before you begin.
STEP 2. Search for Photoshop files in the following ways. There are two different variants to do it. On a Mac, all you have to do is to click Cmd + click on the Photoshop icon to open its system folder.
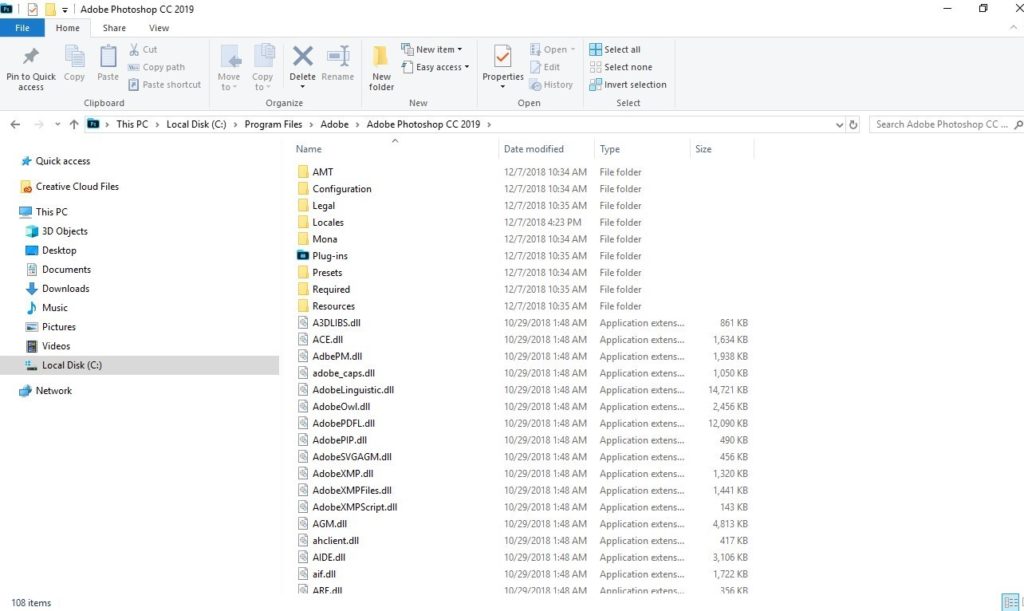
Windows: C: \ Program Files \ Adobe \ Photoshop \
Mac: / Users / {Your username} / Library / Application Support / Adobe / Adobe Photoshop ___ /
STEP 3. Open “Presets” folder, then “Brushes” to see all your brushes. This is where Adobe stores all of your brushes, and Photoshop “looks” for new ones.

STEP 4. Drag the new brushes to this folder. When you open a .zip file, drag the .ABR file into the Brushes folder. New brushes will be ready for usage the next time you run Photoshop.
Download Directly from Photoshop
You can import a large number of free and paid brushes into Photoshop. Follow these steps:
STEP 1. On the “Brushes” panel, select “Load Brushes” from a drop-down menu. After that, right-click on the brush that’s displayed on the “Brushes” panel and select “Get More Brushes” from the context menu.
STEP 2. Download a set of brushes. For example, you can get free Photoshop brushes from FixThePhoto.
STEP 3. Click twice on the downloaded ABR file.
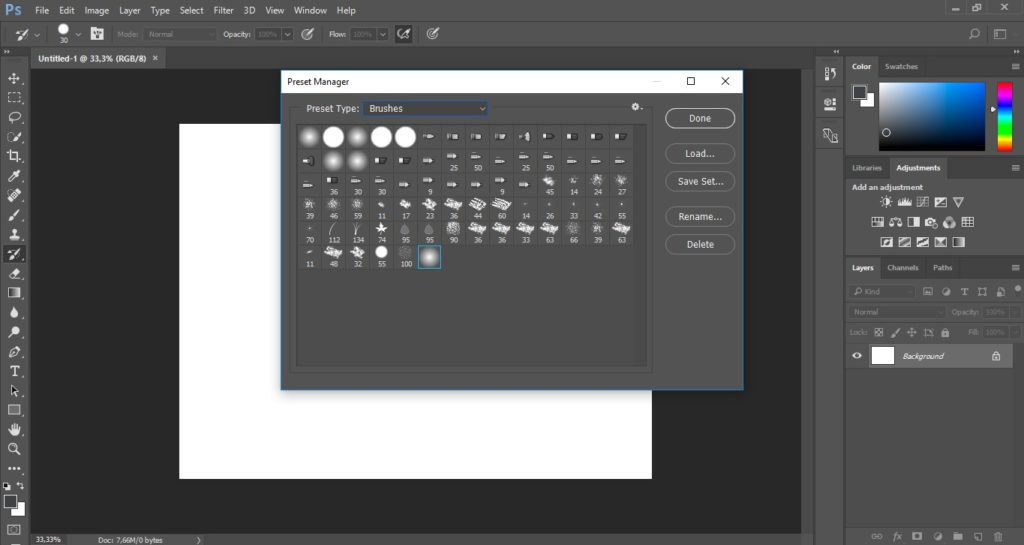
STEP 4. Added brushes are now displayed on the “Brushes” panel.
How to Use Brushes in Photoshop?
After you have picked out the brush you want to use, just press the button. As I’ve already mentioned, you can use single clicks to place a brush, or you can hold the mouse button and drag the cursor around the screen to create cool effects. If you notice that your brush is too large, or you just don’t like the effects you create, you can control the size, mode, opacity, and flow of the brush using the settings on the toolbar at the top.
Brushes Settings and Control
You can easily manage your brushes by organizing them in groups on the “Brushes” panel.
STEP 1. Click on the icon on the “Brushes” panel.
STEP 2. Enter the group name. Click “OK”.
STEP 3. Drag the brushes and presets into the group.
Rename a Preset Brush
STEP 1. Select a brush on the “Brush Presets” panel and select “Rename Brush” in the panel menu. Enter a new name and click OK.
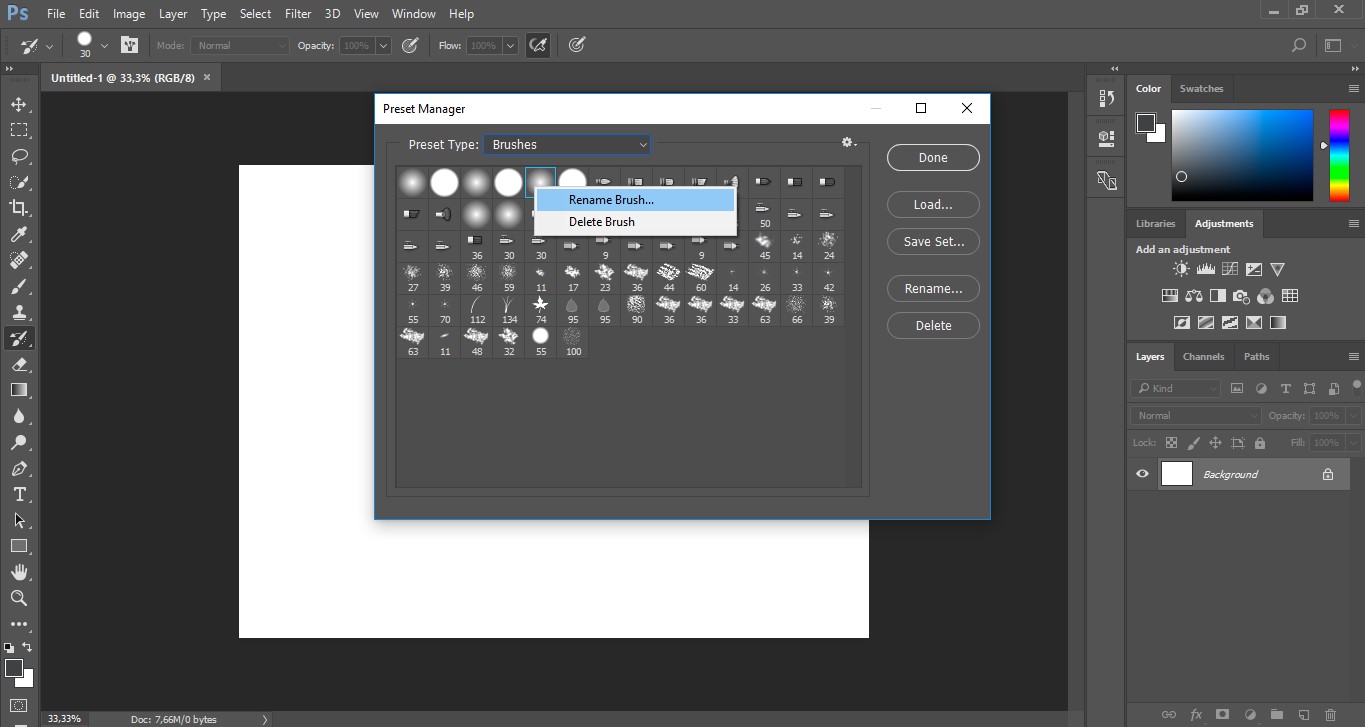
STEP 2. Double-click on the brush tip, enter a new name, and click “OK”.
Delete a Preset Brush
STEP 1. On the Brush Presets panel, do one of the following steps:
STEP 2. Alt-click (Windows) or Option-click (Mac OS) on the brush you want to remove.
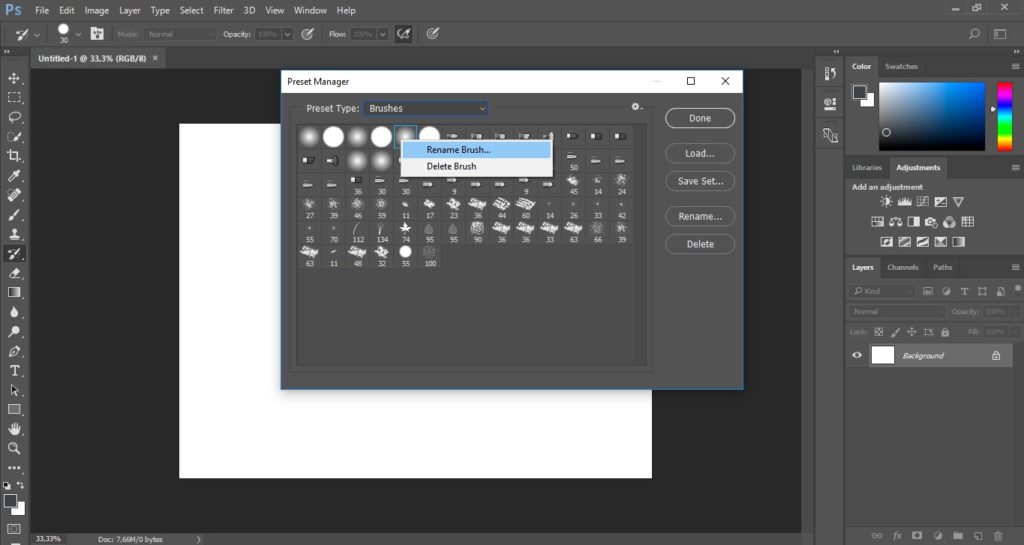
STEP 3. Choose a brush and select “Delete Brush” on the panel menu or click on the “Delete” icon.